STEP 1
Download and install EML to PDF Converter on your Windows Machine and Read all Instructions.

Dual options to load EML files or folders.

Select EML file or folder from the software screen and hit the Next button.

Now, check on Convert Attachments as PDF if you want to convert all EML message attachments as PDF document too. Also, enable Black & White mode to create non-searchable PDF file

Next, hit the folder icon to save the converted PDF file at any location.

Choose a required file naming option for managing the resultant files in a systematic manner.

At last, hit on Convert tab to begin EML emails to PDF documents conversion.

STEP 8
The conversion process has been completed successfully.

STEP 1
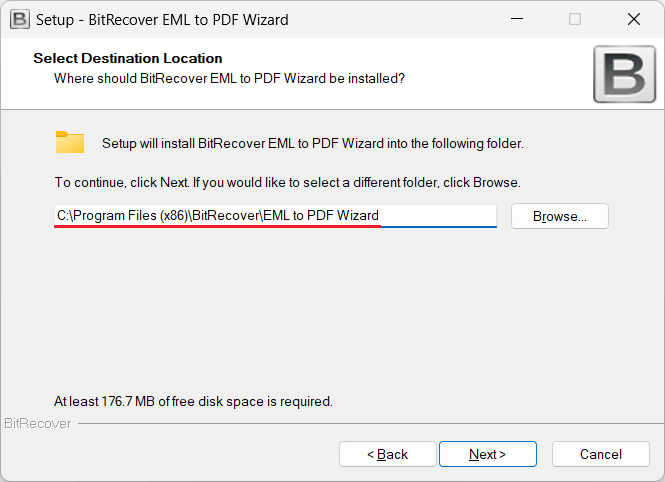
Download and install EML to PDF Converter on the default location (C:\Program Files (x86)\BitRecover\EML to PDF Wizard)
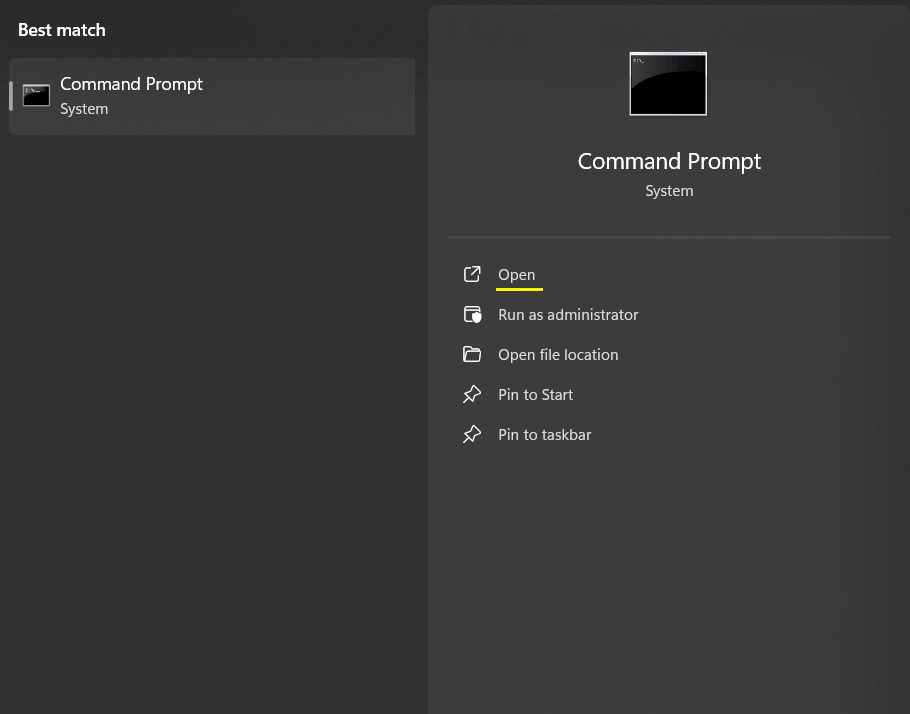
Open Command Prompt in your computer
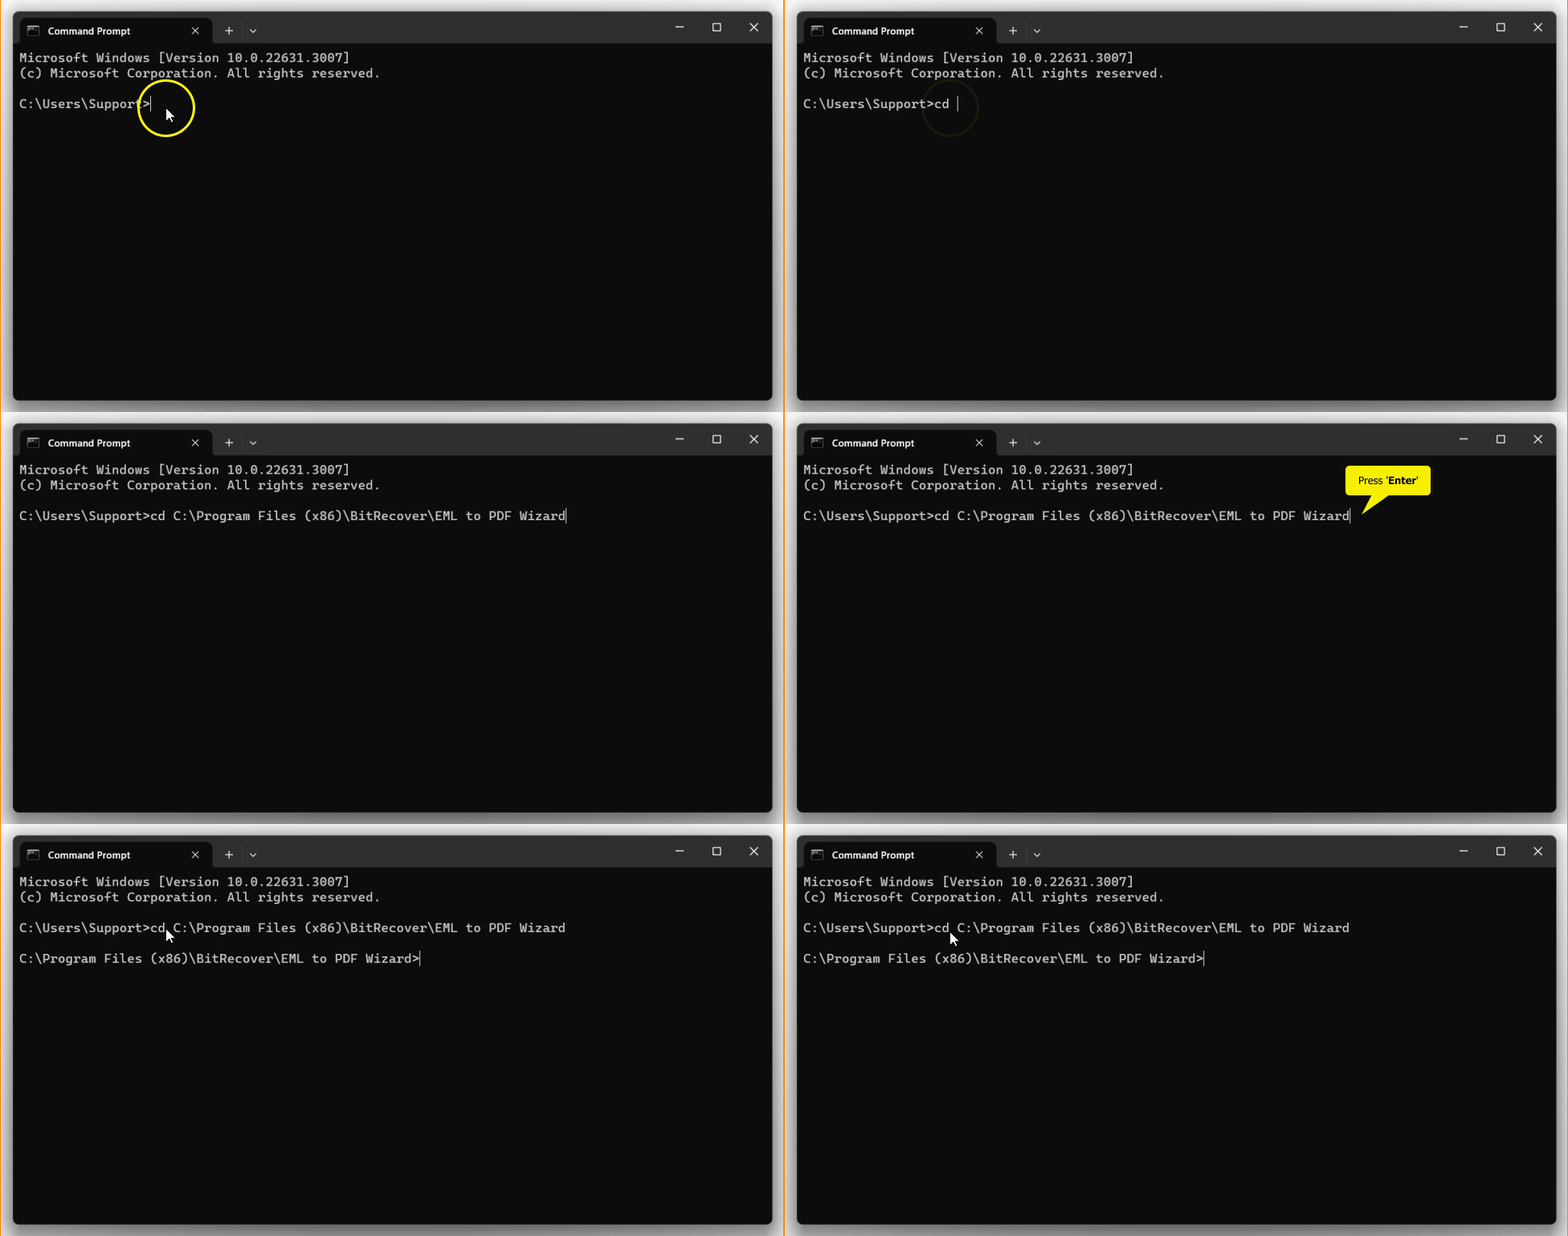
Change directory to EML to PDF Wizard installation path cd C:\Program Files (x86)\BitRecover\EML to PDF Wizard
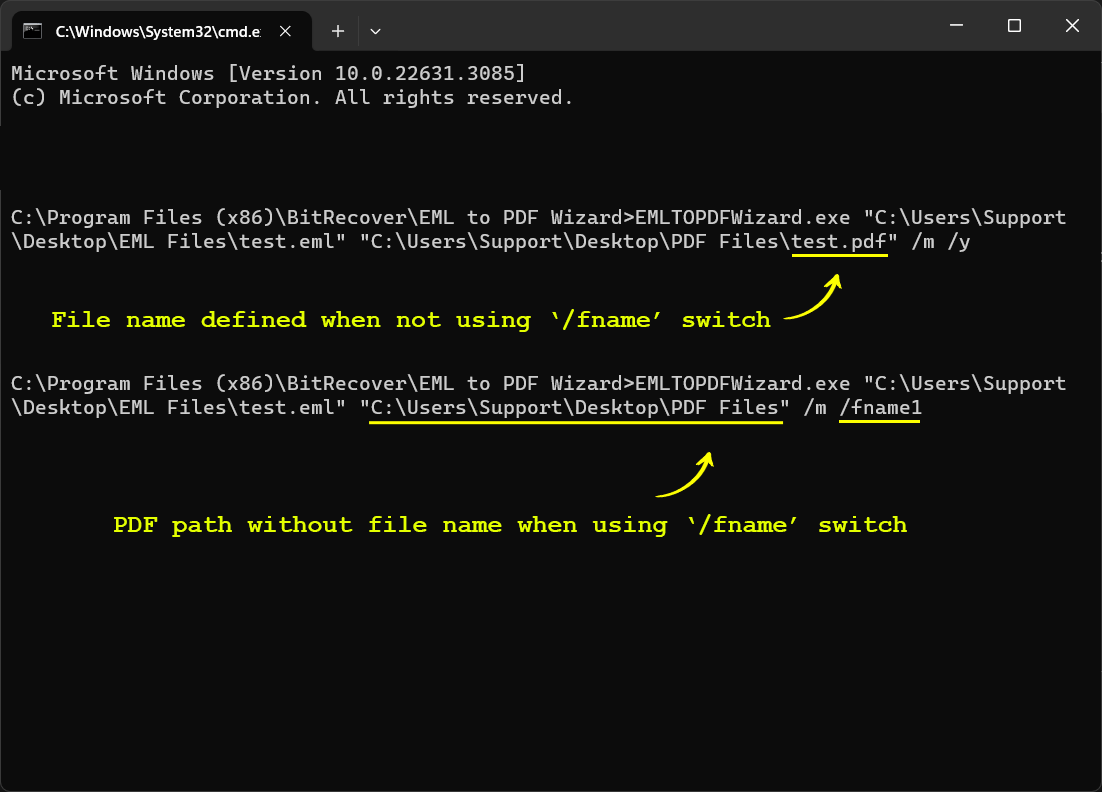
Enter the command prompt: EMLTOPDFWizard.exe "Source EML Path" "Destination PDF Path"
Command Line Switches (Flags)
/? - Show Command Line Help
Attachment Handling:
/m - Merge Attachments
/c - Save attachments as PDF in same destination
/s - Save attachments in the native format
/sa4 - Fit images in A4 page
/slegal - Fit images in Legal page
Header option:
/y - Include headers
PDF File Naming Option:
/fname1 - Original File Name
/fname2 - Subject + Date (dd-mm-yyyy)
/fname3 - From + Subject + Date (yyyy-mm-dd)
/fname4 - From + Subject + Date (dd-mm-yyyy)
/fname5 - Date (dd-mm-yyyy) + From + Subject
/fname6 - Date (yyyy-mm-dd hh:mm:ss) + From + Subject
/fname7 - Date (yyyy-mm-dd-hhmm)
/fname8 - From + Date(yyyy-mm-dd-hhmm)
/fname9 - Date (mm-dd-yyyy) + Subject + From
/fname10 - Date (yyyy-mm-dd) + From + Subject
/fname11 - Auto Increment
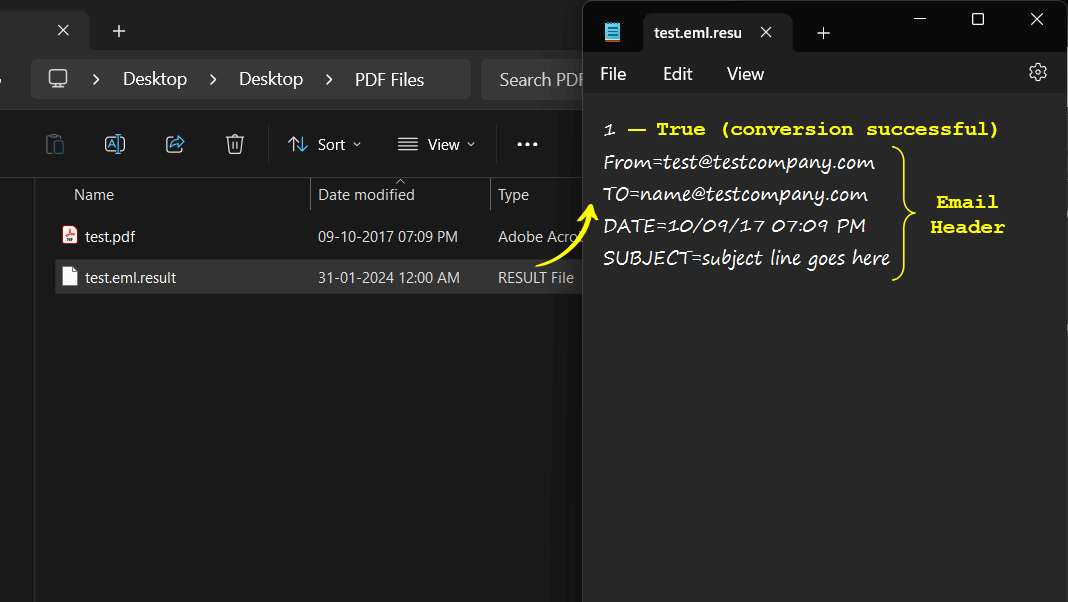
Result
Converted .pdf file and .result file
