How to Migrate Tobit David to Exchange Server?

Tobit software developed a mail server i.e., David 3. It is an ideal mail server option for new mail administrators and is experienced in managing queues and even for sending emails. David 3 is considered as one of the best email servers for management in companies, information exchange, and management.
Tobit David software does not store any kind of email information. It is an agent that will help users in transferring their emails from the server to the host. Currently, most of the users are using David v3. Therefore, the queries of users are also based on the David v3.
Migrating Tobit to Exchange allows users to enhance email security and integrate with other Microsoft 365 services. The Exchange server offers advanced features like shared calendars, contacts, and several useful collaboration tools. Moreover, it supports regular updates to make it an ideal choice for businesses. In the following guide, we have deeply explained how to migrate from Tobit David to an Exchange server account without any trouble.
Benefits of Tobit to Exchange Migration
- The Exchange server offers advanced security features such as encryption, spam filters, and data loss prevention.
- Migrating Tobit David to Exchange allows users to take advantage of shared calendars, contacts, and task management for better teamwork.
- This process is also beneficial for integration with Microsoft 365 productivity services.
- It allows easy access to emails, contacts, and calendars through multiple devices.
Manual Methods to Migrate Tobit David to Exchange Server
- Install the Outlook desktop client on your system.
- Open Outlook, navigate to your desired folder, and then drag and drop EML files from your computer into this folder.
- Use Outlook’s Import/Export Wizard to export the folder containing EML files as a PST file.
- Now upload the PST to Office 365 using the Microsoft Network Upload method via Azure AzCopy and map it to the correct mailboxes in the Security & Compliance Center.
- Complete the import and verify the data.
Limitations of this Method:
The manual process to Tobit to Exchange migration may look simple but it is not. We have explained the manual way to import Tobit to Exchange in short, hence is it too lengthy. Users need to perform separate steps for each process. Moreover, the manual task is time-consuming, lengthy, and requires technical assistance.
Easy Solution to Migrate Tobit David to Exchange Server
BitRecover EML Converter Wizard is one of the best migration applications for users. It can be used with ease by both technical and non-technical users. This program always helps to protect highly sensitive data from various threat exposure as well as from data breaches.
It provides high speed easy handling and a smooth user experience without compromising on any sort of security or quality of data. This application can easily solve the user’s issue with Tobit David’s exchange server. Let’s discuss the complete working procedure of the tool to complete the task without facing any difficulty.
How to Migrate Tobit David Server to Exchange?
For completing the Tobit David Server to Exchange Server Hosted / On-Premise migration process. You need to follow the below-mentioned steps.
1 – Export Tobit David Data
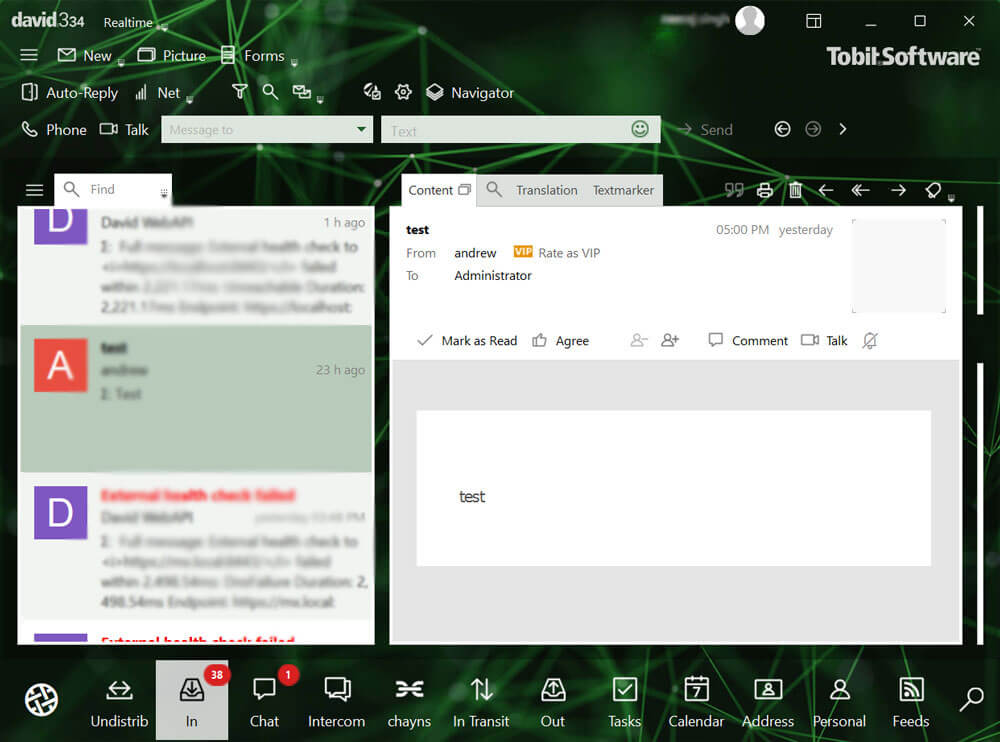
- Firstly, log in to Tobit David Server Client’s interface.
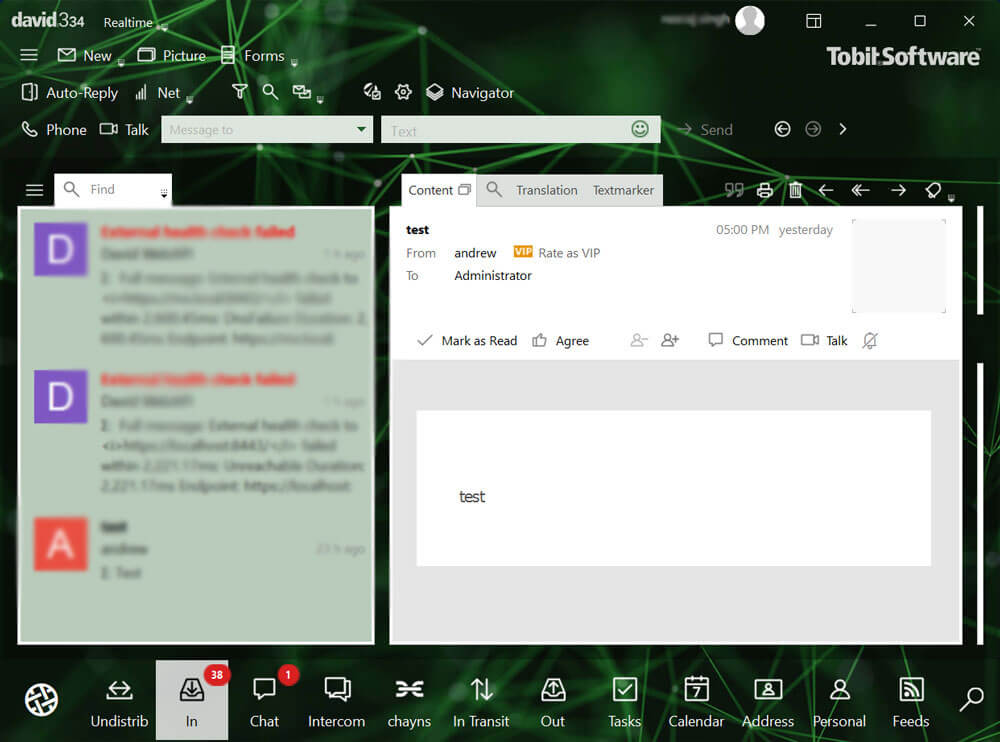
- After that, select all emails from In / Out folders and drag & drop emails into separate folders.
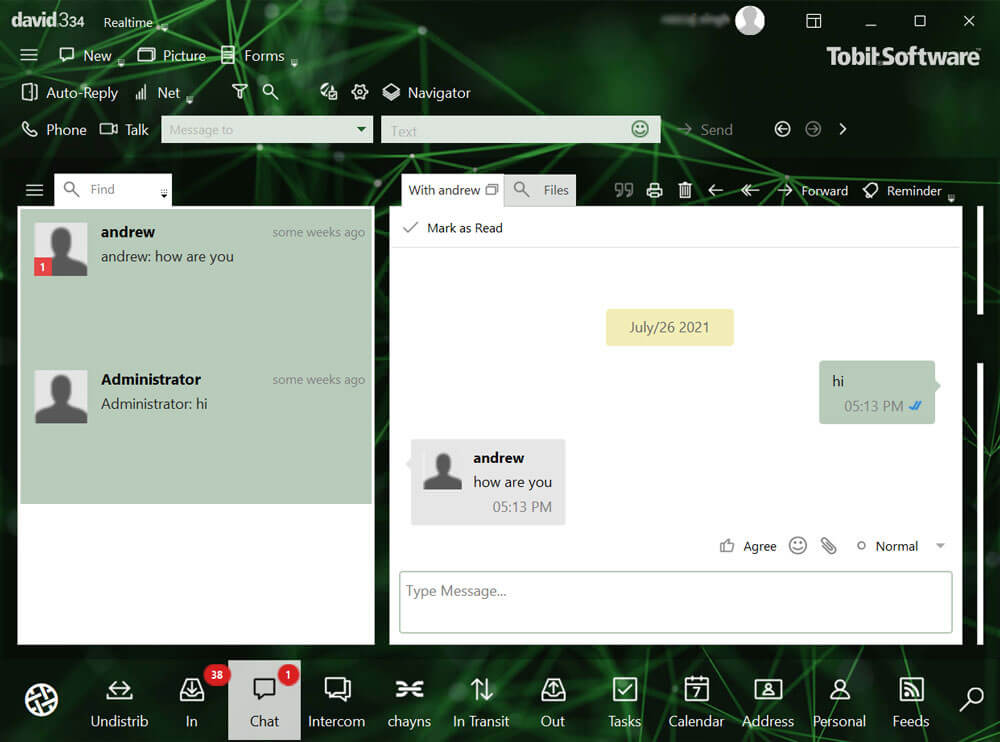
- You can also drag and drop Chat data if required for Tobit to Exchange migration.
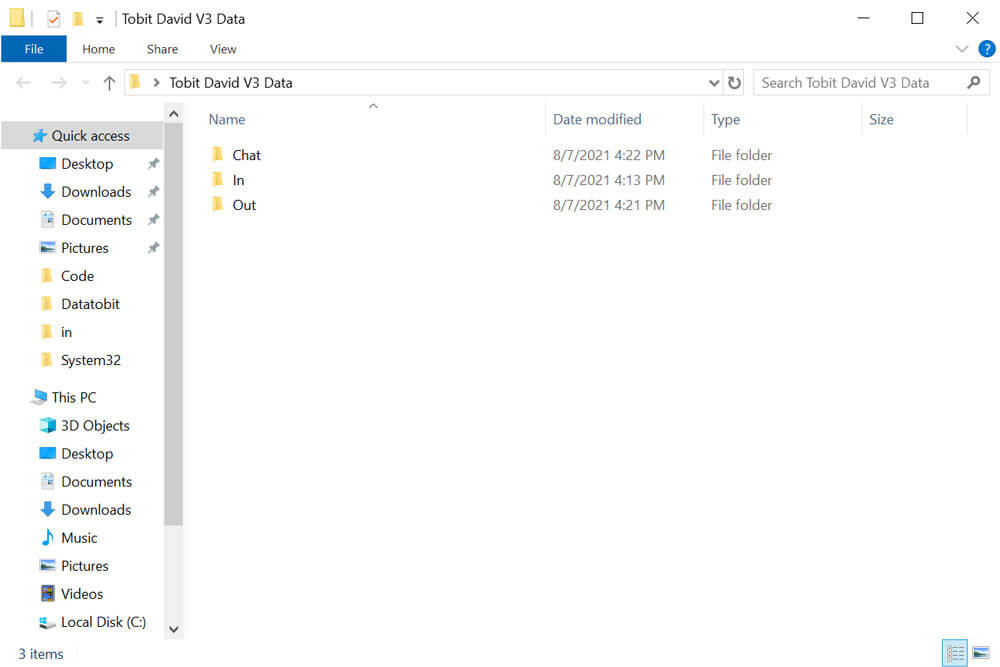
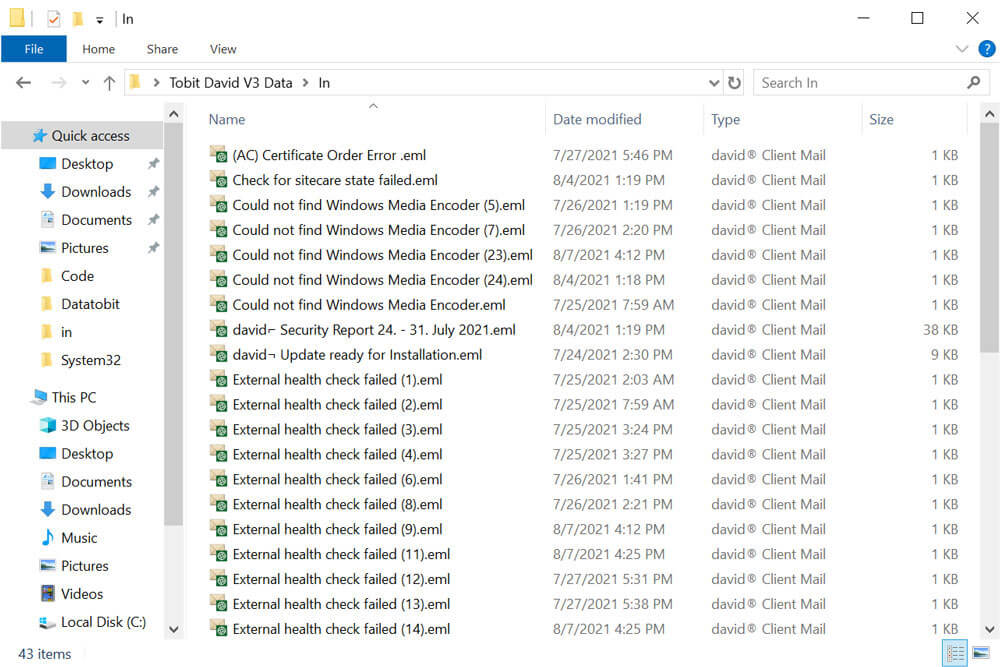
- Here you can see David 3 exported data in separate folders.
- Thereafter, open any folder and see data in EML format.
2 – Now Import EML to Exchange Server
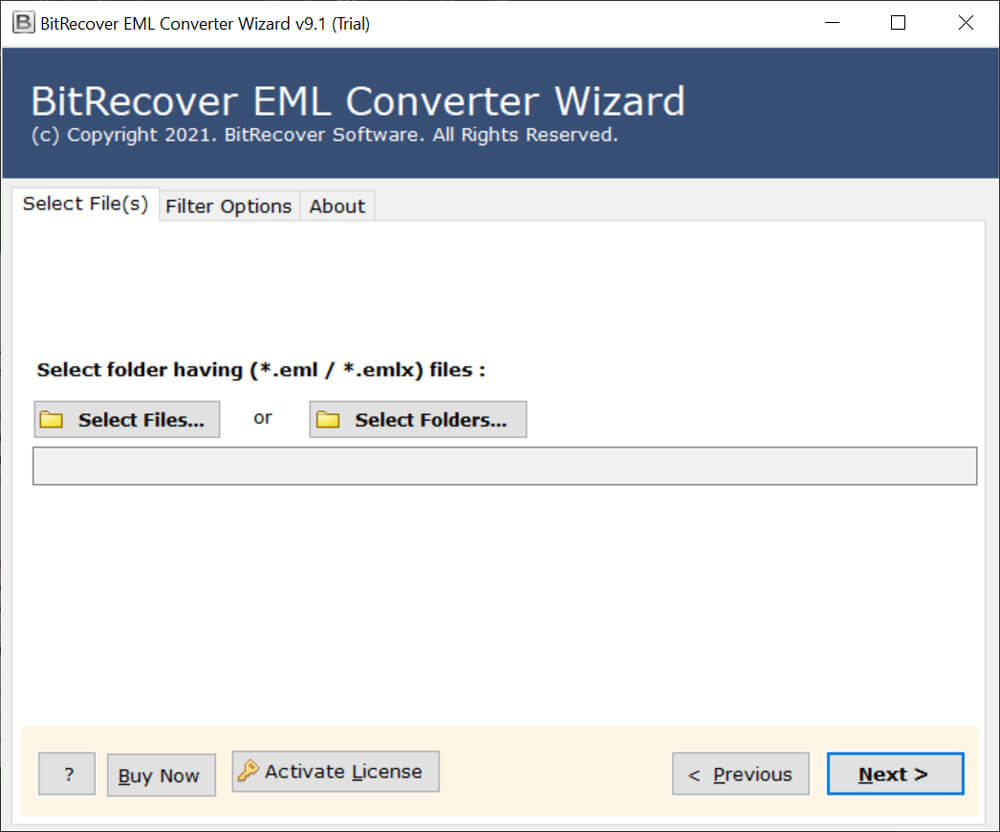
- Firstly, launch the mentioned Tobit David Migration Tool and insert David 3 *.eml files using the Select Files or Select Folders button.
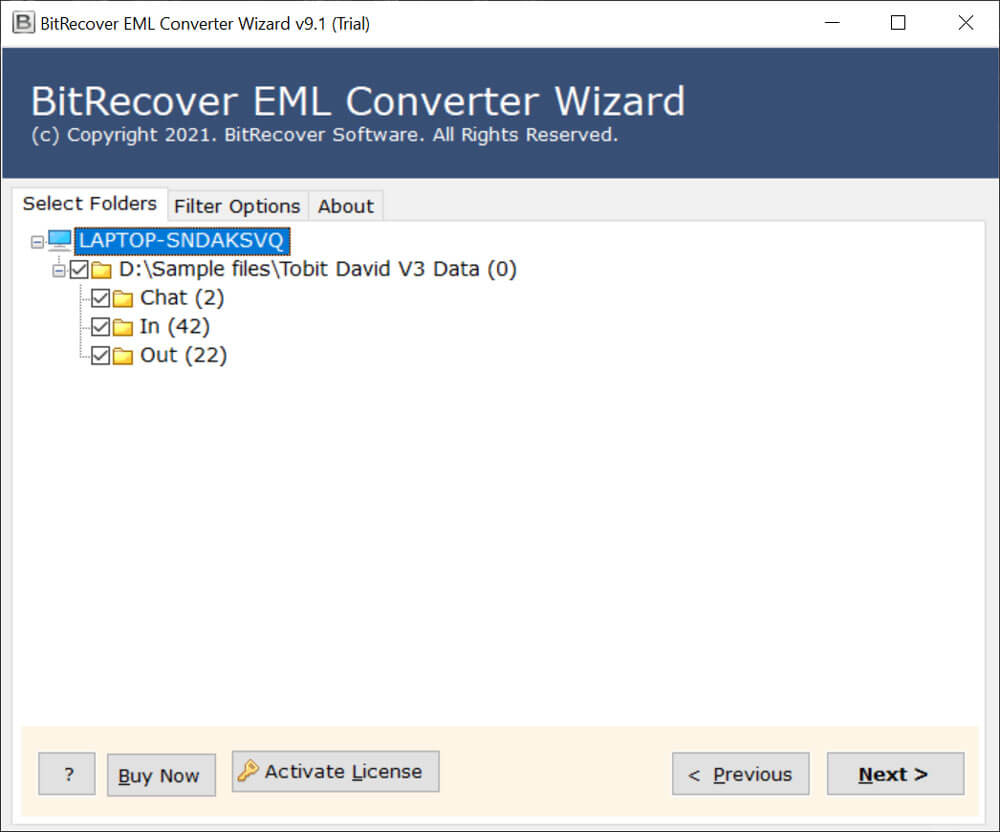
- After that, select Tobit David Client folders and press Next button to migrate Tobit David to Exchange server.
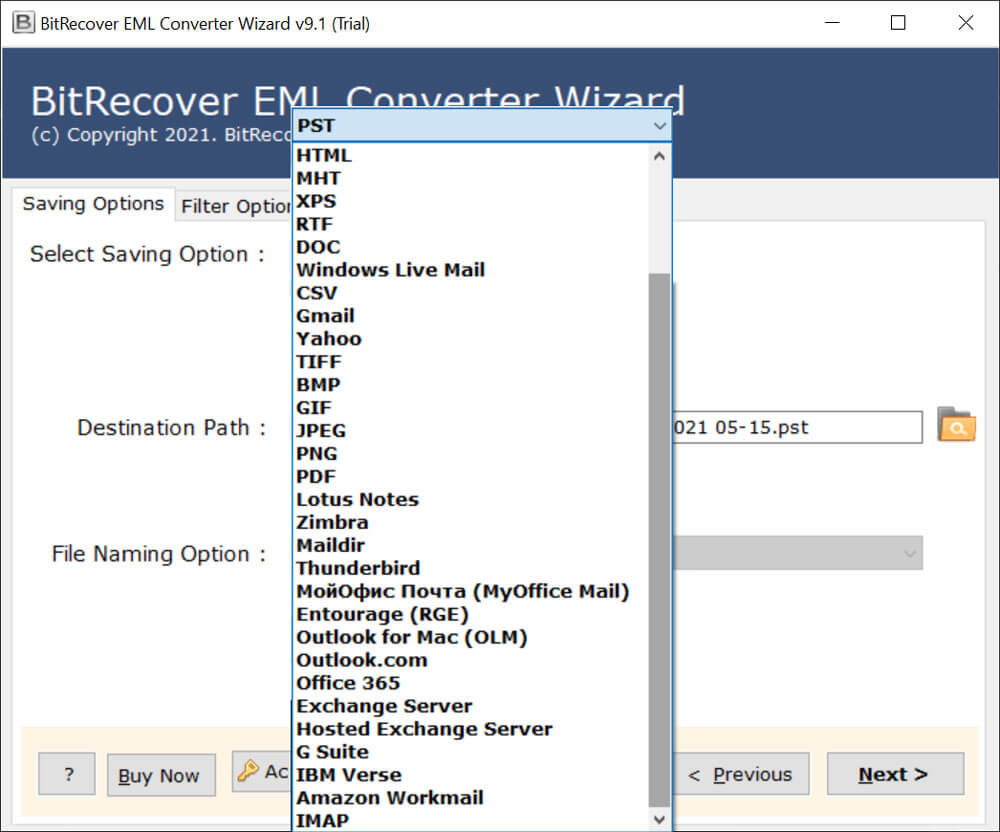
- Choose Exchange Server / Hosted Exchange Server as a saving format.
- Enter Exchange Server credentials i.e. Domain / User Name and Password.
- If you want to migrate Tobit David to a specific Exchange user account then check I am Admin option. Click on the Next button to start migration.
- Lastly, after completion of the task, login to your Exchange Server account and view imported data.
In Conclusion
In this above blog, we have described about migrate Tobit David to Exchange Server in brief. This post will help users in clearing their doubts regarding the migration process of the Tobit David Server to Exchange. Multiple users were facing issues in this scenario, so this blog post is helpful for them. Here, we have also mentioned the demerits of using a manual approach. Many users were looking to use free manual solutions. To avoid all these limitations, it is best to use an automated solution for completing the task.
In case of doubts, users can go with the trial version of the application. After having satisfaction users can go with the licensed edition of the tool. For more information contact the technical support team.
Similar Information
